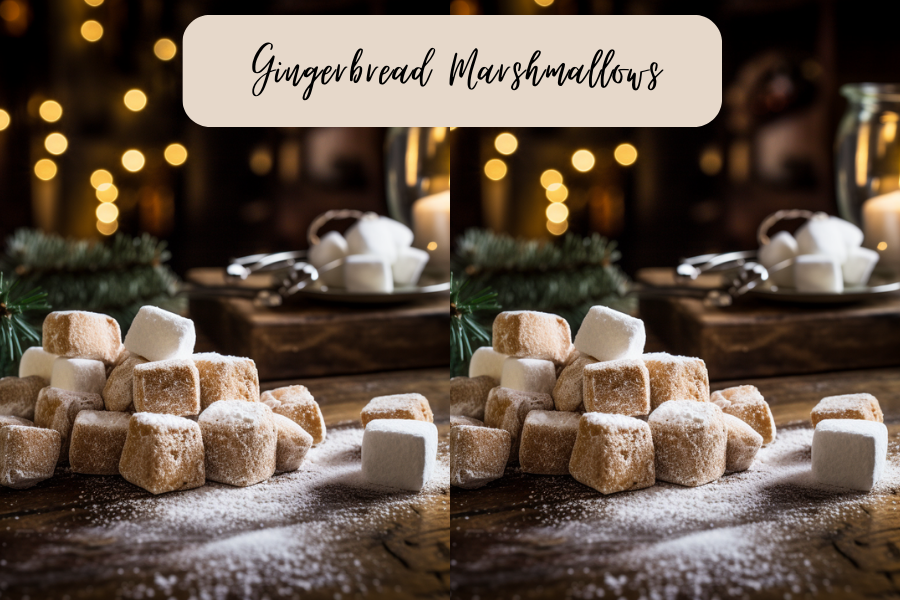
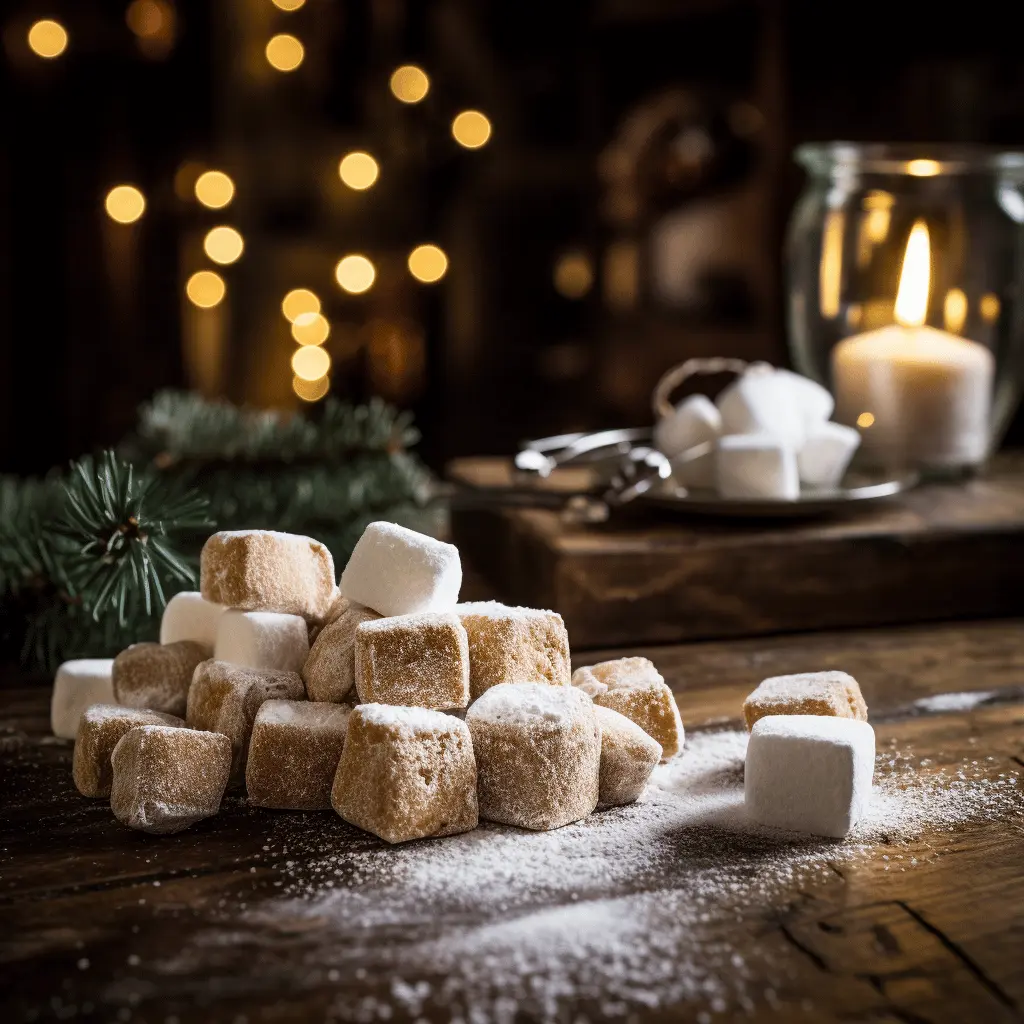
A modern twist on a nostalgic classic – these pillowy homemade gingerbread marshmallows are the perfect way to mix up your normal Christmas candy-making!
This post contains affiliate links, which means I’ll receive a commission if you purchase through my link, at no extra cost to you. Please read the full disclosure here.
I am SO excited to share this special recipe with you guys! While I may be new to candy-making, I LOVE making various treats to share with anyone and everyone. This recipe is such a fun twist on a classic treat we all know and love. Homemade marshmallows can be served as-is or make them part of a holiday s’mores night around the fire. You could even take it a step further and make homemade gingerbread rice crispy treats! Now THAT would be fun.
I have a question for the audience: Do you consider marshmallows to be candy? Or are they their own category altogether? I’m classifying it as candy because it requires the use of a candy thermometer to make it, but I would love to hear your opinion on this debate!
In this recipe, I use my salt-free, sugar-free Gingerbread spice blend from my spice company – The Spice Girl Kitchen. I’m biased because it is, after all, my spice recipe and the best salt-free, sugar-free Gingerbread seasoning on the market. But you can always swap this for plain cinnamon or come up with a Gingerbread spice blend at home! You could even omit it all altogether if you just want a standard vanilla marshmallow.
This post is all about Homemade Gingerbread Marshmallows!
All About Marshmallows
History
Marshmallows, those fluffy, sugary delights adorning hot cocoa and s’mores, have a history as rich as their taste. In ancient Egypt, marshmallow roots were first used for medicinal purposes due to their gelatinous texture. Fast forward to 19th-century France, where the marshmallow we know and love began to take shape. The sap of the marshmallow plant was combined with egg whites and sugar to create the early version of these delightful treats. The process underwent refinement over the years, eventually leading to the marshmallows we enjoy today. It’s crazy to think that marshmallows have evolved from medicinal roots to beloved treats!
Ingredients
Each ingredient in marshmallows serves a specific purpose:
- Gelatin – The backbone of the marshmallow structure.
- Sugar – For sweetness and texture.
- Corn syrup – To prevent crystallization. I recommend using light corn syrup if you want to keep your marshmallows white in color.
- Vanilla extract – Adding a hint of flavor.
- Confectioners’ sugar – For dusting and preventing sticking.
- Salt – To enhance flavor.
Marshmallow Method
- Blooming the Gelatin: Start by softening the gelatin in cold water, allowing it to bloom for about 5 minutes and achieve the desired consistency.
- Sugar Syrup Magic: Create a sugar syrup by dissolving sugar and corn syrup with a little water and salt, reaching 240 degrees F exactly to ensure the right consistency.
- Whipping it Into Shape: Combine the gelatin mixture with the sugar syrup and whip until a fluffy, glossy consistency is achieved. This step is crucial for that signature marshmallow fluffiness.
- Setting and Cutting: Allow the mixture to set in a powdered sugar-dusted pan, and once firm, cut into desired shapes. Dust with confectioners’ sugar to prevent sticking.
Equipment Needs
This recipe does require a few pieces of specialized equipment to get the job done:
Candy thermometer
A candy thermometer is important for cooking to a precise temperature for the best texture outcome. Click here to shop for the candy thermometer I recommend.
Stand mixer
The marshmallows need to be whipped for 15 minutes. Save yourself some effort and energy by using this stand mixer with a whisk attachment (for a hands-off experience) OR an electronic hand mixer.
You Might Also Like
If you like this recipe, you will also like:
- Gingerbread Espresso Martinis
- Gingerbread Popcorn
- Gingerbread Smoothie
- Gingerbread Banana Bread
- Gingerbread Overnight Oats
- Gingerbread Monkey Bread
- Gingerbread Energy Bites
- Skinny Slow Cooker Apple Crisp
OR click here for the entire Gingerbread category!
Storage
Here are my tips for storing your homemade marshmallows:
- Airtight Containers: Store marshmallows in airtight containers to prevent exposure to air and moisture, maintaining their freshness.
- Cool, Dry Place: Keep marshmallows in a cool, dry place away from direct sunlight. Avoid refrigeration, as moisture can affect their texture.
- Parchment Paper Layers: Place parchment paper between layers of marshmallows to prevent them from sticking together.
- Use Within a Month: While marshmallows have a decent shelf life, aim to consume them within a month for optimal taste and texture.
Homemade Gingerbread Marshmallows
Ingredients
Method
- In a small bowl, whisk together the cold water and gelatin. Let sit for 5 minutes to allow gelatin to soften.
- Meanwhile, combine sugar, light corn syrup, 1/2 cup water, and salt in a small pot over medium heat. Fit a candy thermometer to the pot's side, ensuring it dips into the sugar mixture. Stirring continuously so the sugar doesn't burn, and cook until the mixture reaches 240℉ exactly. Remove from heat and pour into a heat-proof large liquid measuring cup.
- In a stand mixer fitting with the whisk attachment, add the softened gelatin. Starting at a slow speed, gradually add the sugar syrup. Once all of the syrup has been added, increase the speed gradually and let run for about 15 minutes (or until cooled). The mixture should be fluffy and glossy.
- Reduce the speed to low and add the vanilla and gingerbread spice to the marshmallows. Whisk until combined.
- Generously dust an 8x12 pan with powdered sugar. Pour your marshmallow mixture on top and smooth the top. Generously dust the top of the marshmallows with powdered sugar. Place in the refrigerator uncovered overnight to set.
- The next day, run a knife around the perimeter of the marshmallows and flip the pan to release. Cut into 20 large marshmallows or 40 small marshmallows. Serve and enjoy!
Notes
Storage
Here are my tips for storing your homemade marshmallows:- Airtight Containers: Store marshmallows in airtight containers to prevent exposure to air and moisture, maintaining their freshness.
- Cool, Dry Place: Keep marshmallows in a cool, dry place away from direct sunlight. Avoid refrigeration, as moisture can affect their texture.
- Parchment Paper Layers: Place parchment paper between layers of marshmallows to prevent them from sticking together.
- Use Within a Month: While marshmallows have a decent shelf life, aim to consume them within a month for optimal taste and texture.
This post was all about Homemade Gingerbread Marshmallows!
Did you make this recipe? Make sure to tag me @thespicegirlkitchen_ on Instagram or @thespicegirlkitchen on TikTok! I love seeing your recreations! I will be your ultimate hype woman!
Want to learn more about Kelsey? Click here to read her story!

