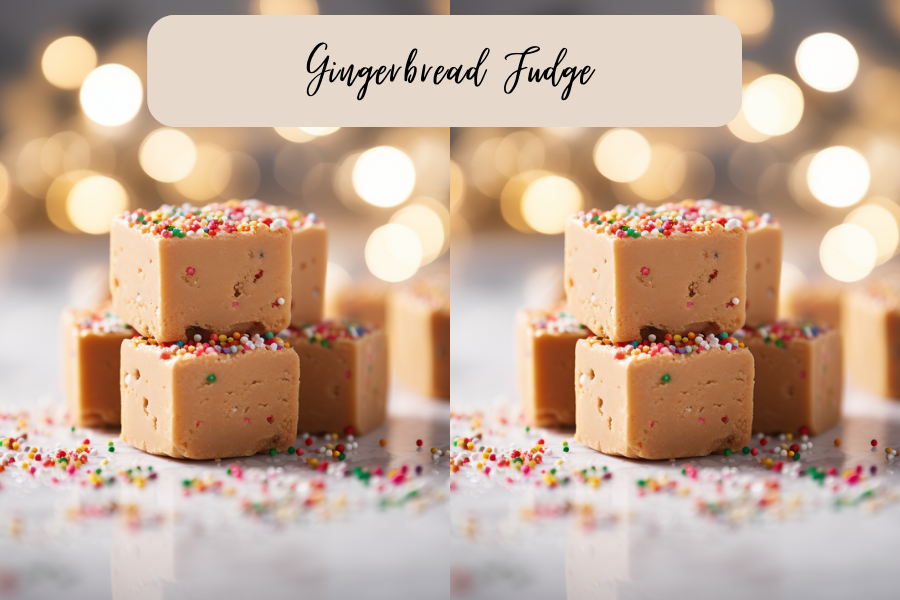
Crafting the perfect Gingerbread Fudge is a delightful alchemy of premium ingredients and precise techniques. With a bit of patience and a dash of creativity, we are going to elevate this classic treat to new heights, creating a symphony of flavors that will leave everyone craving for more.
Fudge is a timeless treat. It may seem intimidating to make, but it only requires a few key ingredients and a little patience to achieve this magical, velvety dessert. I love this recipe because it makes enough to share. I like to put a few pieces in a Christmas-themed plastic bag, tie a little note on them, and give them to almost everyone I know. Fudge is truly a treat to be shared and savored. So, gather your ingredients, embrace the art of fudge-making, and treat yourself to a culinary experience that’s as sweet as it is rewarding.
In this recipe, I use my salt-free, sugar-free Gingerbread spice blend from my spice company – The Spice Girl Kitchen. I’m biased because it is, after all, my spice recipe and the best salt-free, sugar-free Gingerbread seasoning on the market. But you can always swap this for plain cinnamon or come up with a Gingerbread spice blend at home!
This post is all about Gingerbread Fudge!
Ingredient Breakdown
Chocolate
The heart and soul of any fudge recipe, chocolate (either the white or brown variety) provides the rich, decadent flavor that defines this classic treat. Opt for high-quality chocolate with a cocoa content of at least 60%. Dark or semi-sweet chocolate works exceptionally well, but feel free to experiment with your favorite variety.
Sweetened Condensed Milk
This luscious, thick concoction adds sweetness and creaminess to the fudge. This key ingredient eliminates the need for additional sugar and contributes to the fudge’s smooth texture.
Vanilla Extract
A small amount of vanilla extract elevates the fudge’s flavor profile. It adds a subtle, aromatic note that complements the chocolate, making the taste more nuanced and sophisticated.
Salt
A pinch of salt might seem inconspicuous, but it plays a crucial role in enhancing the overall flavor of the fudge. It helps to balance the sweetness and intensify the chocolatey goodness.
How To Make Fudge
Prep Your Pan
Start by lining a square or rectangular baking pan with parchment paper. To ensure easy removal of the fudge once it has been set, leave a slight overhang to make lifting the fudge out of the pan a breeze.
Melt Chocolate and Butter
In a double boiler or a heatproof bowl set over simmering water, melt the chocolate. Stir gently and consistently to avoid burning the chocolate. Alternatively, you can melt them in short bursts in the microwave, stirring between each interval.
Incorporate Sweetened Condensed Milk
Once the chocolate and butter form a smooth, glossy mixture, introduce the sweetened condensed milk. Stir continuously until well combined. The condensed milk adds sweetness and lends a creamy texture to the fudge.
Add Vanilla Extract, Salt, and customizations
Infuse the fudge with flavor by adding vanilla extract, a pinch of salt, and other mix-ins of choice. Stir well to ensure these ingredients are evenly distributed. The vanilla extract enhances the overall taste, while salt balances the sweetness.
Pour and Spread in Pan
Pour the silky fudge mixture into the prepared pan. Use a spatula to spread it evenly, ensuring a consistent thickness. Smoothing the top surface creates an appealing finish.
Chill and Set
Place the pan in the refrigerator to allow the fudge to cool and set. This process usually takes a few hours. For optimal results, let it chill overnight. This patience will be rewarded with a fudge that has the ideal firmness and texture.
Cut into Squares
Once the fudge has set, lift it out of the pan using the parchment paper overhang. Place it on a cutting board and, with a sharp knife, cut it into neat squares or rectangles. The precision of your cuts adds a professional touch to the final presentation.
Serve and Enjoy
Your homemade fudge is now ready to be savored. Share it with loved ones by making Christmas goodie bags or indulge in its velvety richness on your own. The marriage of chocolate, sweetened condensed milk, and butter has never tasted better.
You Might Also Like
If you like this recipe, you will also like:
- Gingerbread Popcorn
- Gingerbread Smoothie
- Gingerbread Banana Bread
- Gingerbread Overnight Oats
- Gingerbread Monkey Bread
- Gingerbread Energy Bites
- Skinny Slow Cooker Apple Crisp
OR click here for the entire Gingerbread category!
Storage Tips
Storing fudge properly is essential to maintain its freshness and prevent it from drying out or becoming overly soft. Here are some fudge storage tips:
Parchment Paper Layers
Place parchment paper between the layers of fudge when stacking it in a container. This prevents the pieces from sticking together and maintains their distinct shapes.
Airtight Container
Store the fudge in an airtight container to prevent exposure to air, which can lead to drying. Make sure the container has a tight-sealing lid to maintain the fudge’s moisture.
Refrigeration Recommended
While some fudge recipes can be stored at room temperature, others benefit from refrigeration. If your fudge contains perishable ingredients like fresh cream or fruits, refrigerate it. Cold storage also extends the fudge’s shelf life.
Avoid Mixing Flavors
If you’re storing different flavors of fudge together, be cautious about potential flavor transfer. Place each flavor in separate containers or wrap them individually to preserve their unique tastes.
Cool, Dark Place
If storing at room temperature, keep the fudge in a cool, dark place. Avoid exposing it to direct sunlight or heat, as this can cause melting or changes in texture.
Freezing (Optional)
Fudge can be frozen for longer-term storage. Wrap individual pieces tightly in plastic wrap and place them in a freezer-safe container. Thaw frozen fudge in the refrigerator for the best results.
Consume Within 3 weeks
While fudge can have a decent shelf life (up to 3 weeks), it’s best enjoyed within a reasonable timeframe to ensure optimal taste and texture.
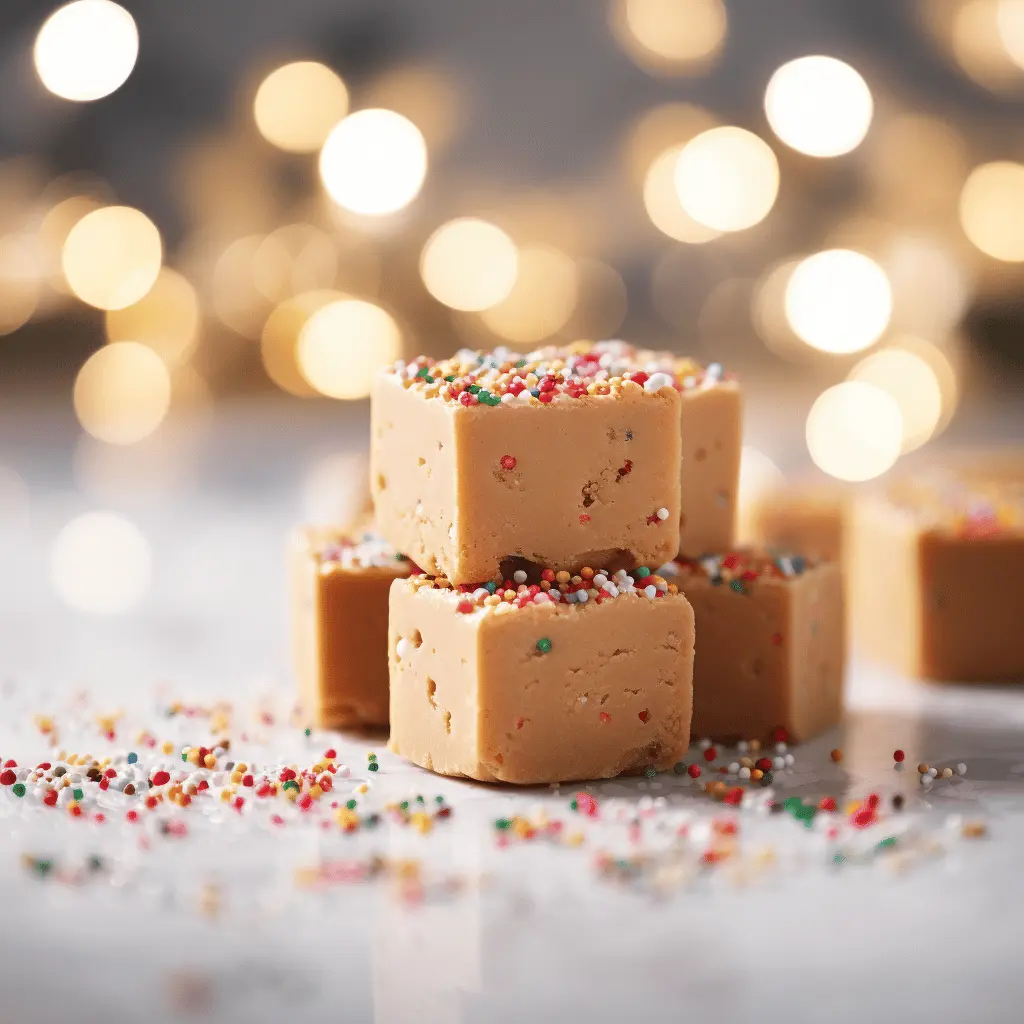
Gingerbread Fudge
Ingredients
Method
- Line an 8-inch square baking pan with foil or parchment paper, extending the parchment paper over the edges of pan. Lightly grease with butter or non-stick spray.
- In a double boiler or a heatproof bowl set over simmering water, melt the chocolate. Stir gently and consistently to avoid burning the chocolate. (Or use a medium saucepan over low heat, stirring frequently just until smooth) Tip: If the chocolate seizes while melting, add 1 tsp hot water, whisking until smooth.
- Add the sweetened condensed milk. Stir continuously until well combined.
- Add the vanilla extract, Gingerbread spice, and salt. Stir well to ensure these ingredients are evenly distributed.
- Pour the mixture into the prepared pan. Use a spatula to spread it evenly, ensuring a consistent thickness. Add sprinkles to your liking.
- Place the pan in the refrigerator to allow the fudge to cool and set. This process usually takes at least an hour. For optimal results, let it chill overnight.
- Once the fudge has set, lift it out of the pan using the parchment paper overhang. Place it on a cutting board and, with a sharp knife, cut it into neat squares. Serve and enjoy!
Notes
Storage Tips
Storing fudge properly is essential to maintain its freshness and prevent it from drying out or becoming overly soft. Here are some fudge storage tips:Parchment Paper Layers
Place parchment paper between the layers of fudge when stacking it in a container. This prevents the pieces from sticking together and maintains their distinct shapes.Airtight Container
Store the fudge in an airtight container to prevent exposure to air, which can lead to drying. Make sure the container has a tight-sealing lid to maintain the fudge's moisture.Refrigeration Recommended
While some fudge recipes can be stored at room temperature, others benefit from refrigeration. If your fudge contains perishable ingredients like fresh cream or fruits, refrigerate it. Cold storage also extends the fudge's shelf life.Avoid Mixing Flavors
If you're storing different flavors of fudge together, be cautious about potential flavor transfer. Place each flavor in separate containers or wrap them individually to preserve their unique tastes.Cool, Dark Place
If storing at room temperature, keep the fudge in a cool, dark place. Avoid exposing it to direct sunlight or heat, as this can cause melting or changes in texture.Freezing (Optional)
Fudge can be frozen for longer-term storage. Wrap individual pieces tightly in plastic wrap and place them in a freezer-safe container. Thaw frozen fudge in the refrigerator for the best results.Consume Within 3 weeks
While fudge can have a decent shelf life (up to 3 weeks), it's best enjoyed within a reasonable timeframe to ensure optimal taste and texture.This post was all about Gingerbread Fudge!
Did you make this recipe? Make sure to tag me @thespicegirlkitchen_ on Instagram or @thespicegirlkitchen on TikTok! I love seeing your recreations! I will be your ultimate hype woman!
Want to learn more about Kelsey? Click here to read her story!

