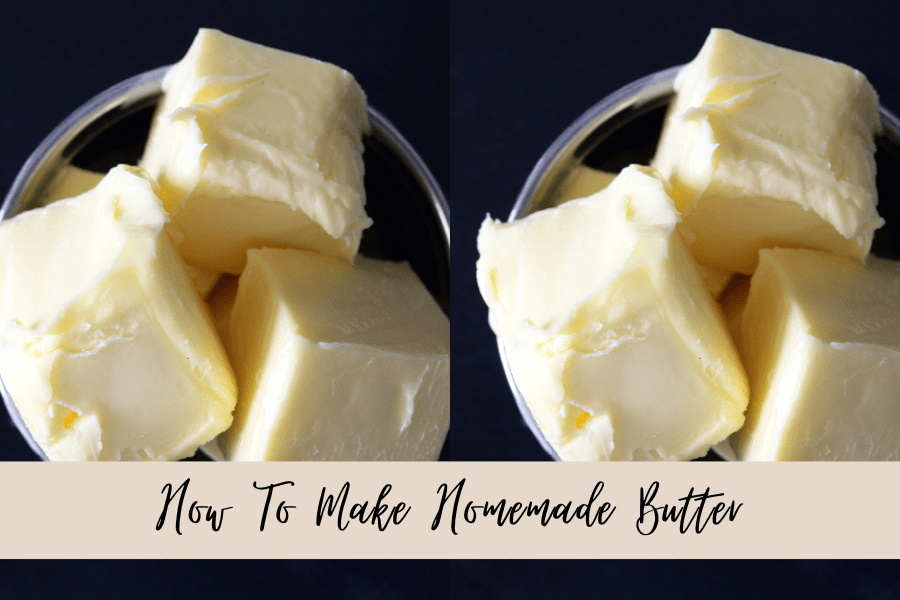
Let’s return to the basics and learn how to make homemade butter from scratch (in a kitchenaid). Got burning homemade butter questions? I have your answers!
This post contains affiliate links, which means I’ll receive a commission if you purchase through my link, at no extra cost to you. Please read the full disclosure here.
There’s something magical about turning cream into butter. It’s like a science experiment that also happens to make your toast taste divine. Whether you’re aiming for farm-to-table vibes or just want to feel like a kitchen wizard, making butter at home is ridiculously satisfying.
Let’s dive into the process and answer all your burning butter questions!
This post is all about how to make homemade butter (in a KitchenAid).
What Equipment Do You Need to Make Butter?
The best part about making butter is that there are multiple methods to get the same result. I prefer using the KitchenAid method because it requires the least amount of physical effort on my part! Click on the links below to shop the equipment I personally use!
- KitchenAid mixer: The workhorse of this operation. A whisk attachment is your BFF here.
- Fine-mesh strainer or cheesecloth: For separating the buttermilk from the butter.
- A bowl: To catch that golden buttermilk you’ll want to save for pancakes.
- Wooden spoon or spatula: Handy for pressing out extra liquid.
- Airtight container or butter mold: For storing your creation. Bonus points if it’s cute!
Optional, but worth considering: butter paddles (so old-school, so cool) or molds for shaping your butter into something Instagram-worthy.
How Do You Make Butter at Home?
Here’s the scoop: you’re only a few steps away from creamy, dreamy butter.
- Start with heavy cream: Pour about 2 cups of high-quality heavy cream into your KitchenAid mixer. Use the whisk attachment and set it to medium speed.
- Whip it good: First, you’ll get whipped cream. Keep going. The cream will start to clump, and soon, you’ll see a liquid separating from the solids. That’s buttermilk!
- Strain it: Once the butter clumps together, pour everything through a fine-mesh strainer or cheesecloth. Save the buttermilk for later.
- Wash your butter: Rinse the butter under cold water and knead it gently to remove any remaining buttermilk. This step keeps your butter fresh longer.
- Season or flavor it: Add a pinch of salt or get fancy with herbs, honey, or even garlic.
- Store it: Pack your butter into an airtight container or mold. Voilà!
Making butter is like magic, but better—because you can eat it.
Is It Actually Cheaper to Make Your Own Butter?
Ah, the million-dollar (or maybe $5) question.
Making your own butter isn’t necessarily cheaper unless you have access to affordable, high-quality cream. Store-bought butter can be more cost-effective, especially when cream prices soar. It really depends on your local prices and the price fluctuations over time.
But there’s value beyond dollars:
- Freshness: Homemade butter tastes better. Period.
- Control: You decide the flavor, saltiness, and ingredients.
- Fun factor: It’s a hands-on experience that brings joy to your kitchen.
And don’t forget—you’re also getting buttermilk as a bonus. Two for one!
What Is the Best Cream to Make Butter With?
The key to great butter is great cream. Here’s what to look for:
- High-fat content: The higher, the better for creamy, rich butter. Look for heavy whipping cream.
- Avoid ultra-pasteurized: It’s processed at a high temperature, which can affect the flavor. Regular pasteurized cream is your best bet.
- Go local if you can: Cream from a nearby dairy or farmers market often tastes fresher and yields better results.
Bottom line: If the cream tastes good, your butter will, too.
How Much Does It Take to Make a Stick of Butter?
This is one of those fun kitchen math moments. Here’s the deal:
- 2 cups of cream = 1 stick of butter (½ cup) and about 1 cup of buttermilk.
It’s a simple equation with delicious results. Need more butter? Just scale up your cream!
How Long Will Homemade Butter Last?
Homemade butter is fresh, but it doesn’t have the preservatives of store-bought versions. Here’s how to make it last:
- At room temperature: If salted, it’s fine for a day.
- In the fridge: 1–2 weeks in an airtight container.
- In the freezer: Up to 6 months. Wrap it tightly to avoid freezer burn.
Pro tip: Label your butter with the date you made it, so you don’t have to play the “is this still good?” guessing game.
What to Do with Homemade Butter and Buttermilk
Now that you’ve made butter, what’s next?
Butter
Spread it on fresh bread, melt it on veggies, make compound butter, bake it into cookies, or just eat a little spoonful (no judgment here).
Buttermilk
Whip up pancakes, biscuits, salad dressings, or marinades. It’s liquid gold in the kitchen.
Troubleshooting and Tips for Perfect Butter Every Time
Even the best of us have butter blunders. Here’s how to fix them:
Butter’s too soft
Chill it in the fridge for a bit.
Over-beaten butter
It can happen! Just rinse and knead it well.
Flavor isn’t right
Add a pinch of salt or mix in some honey or herbs.
Remember, making butter is as much an art as it is a science. Don’t stress—it’s butter, not rocket science.
You May Also Like
If you enjoyed this blog, you may also like some of my other scratch-made blogs like:
- Quick and Easy Buttercream from Scratch
- How To Make Infused Oils
- The Ultimate Guide to Making The Perfect Roux
And there you have it! Making butter at home isn’t just about the end result (though that’s pretty spectacular). It’s about the process—the mixing, the transformation, the satisfaction of creating something with your own hands. So grab some cream and your KitchenAid, and let the magic happen.
This post was all about How To Make Homemade Butter (In a KitchenAid).
Ready to level up your cooking game? Try out these tips and let us know how it goes! Make sure to tag me @thespicegirlkitchen_ on Instagram or @thespicegirlkitchen on TikTok!
Want to learn more about Kelsey? Click here to read her story!

