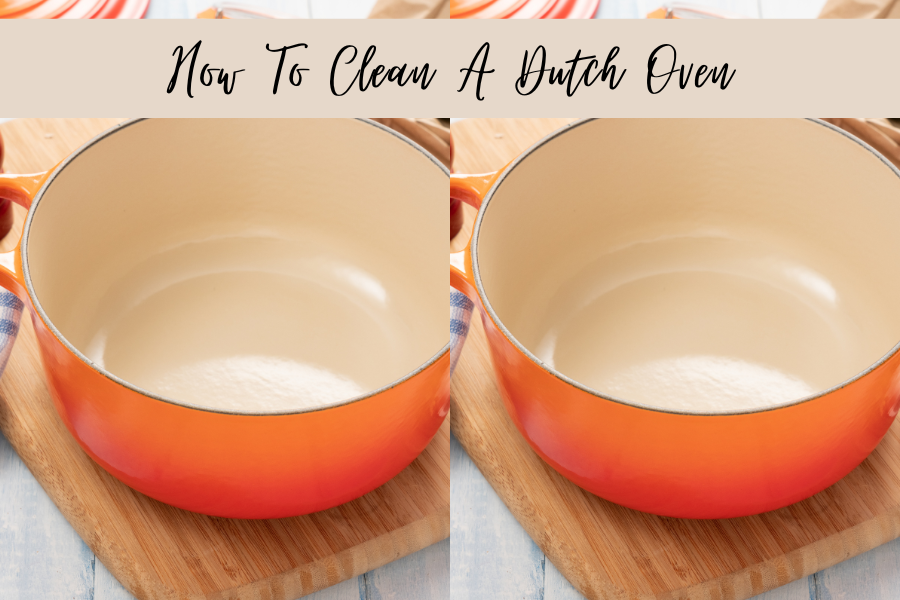
If your Dutch oven is anything like ours, it’s probably the superstar of your kitchen—taking on everything from hearty stews to crusty loaves of bread. But after all that culinary heavy lifting, your Dutch oven deserves some TLC. Keeping it clean is essential for making sure it lasts for many delicious meals to come. Don’t worry, though—cleaning a Dutch oven is easier than it sounds! Let’s dive into the how-tos, why it matters, and a few fun tricks to keep this kitchen MVP looking and performing its best.
Tools You’ll Need
Before we get started, here’s what you’ll need to give your Dutch oven the spa treatment:
- Soft sponge or cloth
- Dish soap
- Plastic or silicone scrubber (save the steel wool for your old frying pan!)
- Baking soda
- Vinegar
- Wooden or silicone spatula
Pro Tip: Always avoid anything too abrasive that can scratch the enamel. We love our Dutch ovens too much to see them suffer!
[the_ad id=”3378″]
Everyday Cleaning: The Basics
Routine cleaning after each use is a must to keep your Dutch oven in its best shape. Here’s how you can make it squeaky clean without any fuss:
- Let it cool down: Trust me on this one! Plunging a hot Dutch oven into cold water is a big no-no—thermal shock can crack the enamel. (Yikes!)
- Warm, soapy water is your friend: Fill it up with warm water and a squirt of dish soap. Let it sit for a few minutes.
- Gently scrub: Grab your soft sponge and give it a good wipe-down. Focus on any spots where food might be stuck but don’t get too aggressive with scrubbing.
- Rinse and dry completely: Make sure to rinse out all the soap and leave it nice and dry. Don’t forget to towel it off, or water spots may sneak in.
Why it’s important: Daily cleaning keeps residue from building up, which means your food won’t stick to the surface and flavors won’t transfer from one dish to the next. Plus, it helps maintain the beautiful enamel that makes Dutch ovens so special!
[the_ad id=”3378″]
Tackling Stuck-On Food
We’ve all been there—after a long day of cooking, you lift the lid and find that some of your meal decided to cling to the bottom of the pot for dear life. But no worries, here’s how you can get those stubborn bits off without losing your cool:
- Fill with water and baking soda: Add a few inches of water to your Dutch oven and stir in about a tablespoon of baking soda.
- Heat it up: Bring the water to a simmer and let it cook for 10–15 minutes. This softens up the stuck-on food so you can remove it more easily.
- Scrape gently: Use a wooden or silicone spatula to loosen the stubborn bits. They should come off like a breeze! Rinse and repeat if necessary.
Food Science Spotlight: Why does this work? The heat combined with the alkaline nature of baking soda helps break down food particles and makes them easier to remove. It’s like giving your Dutch oven a little science-powered boost!
[the_ad id=”3378″]
Removing Stains and Odors
Has your Dutch oven seen better days in terms of appearance? Stains and funky odors can develop over time, but luckily, there are easy fixes:
- For stains: Mix up a paste of baking soda and water and spread it on the stained area. Let it sit for about 15 minutes, then scrub gently with your sponge.
- For odors: If your Dutch oven is holding on to last night’s curry scent, fill it with a mixture of water and a splash of vinegar. Let it sit for an hour, and your Dutch oven will smell fresh again!
Why it’s important: Stains don’t just affect how your Dutch oven looks—they can also impact the flavor of future dishes if left untreated. Keeping your Dutch oven odor-free ensures each new meal tastes just the way it should.
[the_ad id=”3378″]
Cleaning a Cast Iron Dutch Oven (Without Enamel)
Got yourself a classic cast iron Dutch oven? Well, lucky you! But remember, these beauties require a bit of extra care:
- Rinse with warm water: After each use, clean your cast iron Dutch oven with warm water and a plastic scrubber.
- Dry immediately: Cast iron + water = rust. So make sure you dry it thoroughly.
- Season it: Rub a thin layer of oil over the surface to keep it in top shape.
Pro Tip: Never, ever soak cast iron in water. It’ll rust faster than you can say “Dutch oven!”
[the_ad id=”3378″]
Storing Your Dutch Oven
Once your Dutch oven is clean and shiny, you want to make sure you store it properly so it’s ready for its next cooking adventure.
- Make sure it’s dry: Whether enamel-coated or cast iron, moisture is your enemy! Keep your Dutch oven dry before putting it away.
- Let it breathe: For cast iron Dutch ovens, place a paper towel between the pot and lid to allow airflow. This helps prevent moisture from getting trapped.
Why it’s important: Proper storage keeps your Dutch oven from rusting, and if it’s enamel, it helps maintain that sleek, smooth surface we all love.
[the_ad id=”3378″]
What NOT to Do
Just a few quick things to avoid:
- No metal utensils! Stick to wooden or silicone tools to avoid scratching that lovely enamel.
- Skip the steel wool: It’s far too abrasive. Stick to soft sponges and plastic scrubbers.
- Avoid temperature extremes: Never pour cold water into a hot Dutch oven. Let it cool down before washing.
There you have it—a clean and well-cared-for Dutch oven is the secret to making sure it stays your favorite kitchen tool for years to come. By following these easy cleaning and care tips, your Dutch oven will keep on delivering delicious meals without a hitch!
Remember, treat your Dutch oven right, and it’ll treat you to countless kitchen victories! Stay tuned for more kitchen tips and tricks to level up your cooking game. Happy cleaning!
This post was all about How To Clean A Dutch Oven!
Ready to level up your cooking game? Try out these tips and let us know how it goes! Make sure to tag me @thespicegirlkitchen_ on Instagram or @thespicegirlkitchen on TikTok!

